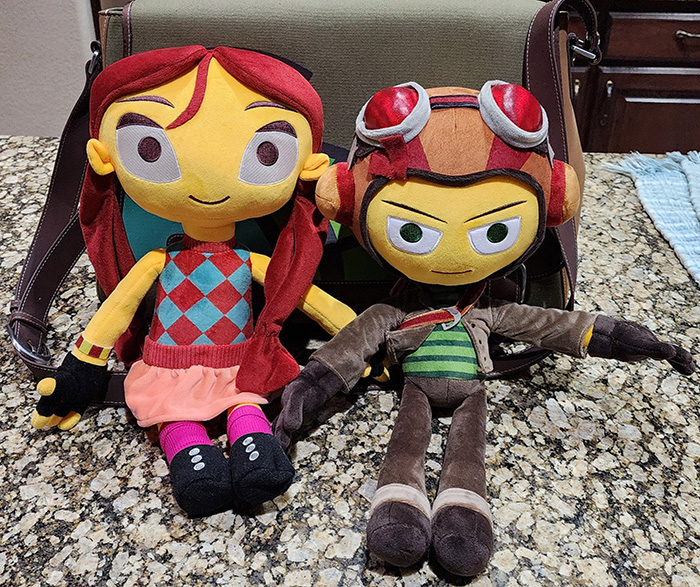
I finally got my Raz and Lili plushies in from the Psychonauts 2 campaign, NINE YEARS LATER. They’re pretty cute and I really like them, though Lilis’ has a lot of flaws. Her blouse colors are way off and the triangle pattern is much larger than in the game. Her skirt is also only 1 color instead of 2. All in all not that big a deal.
Something that really urks me about it though is that they were supposed to be CAMPAIGN EXCLUSIVES that I paid $100 for each. But then Double Fine went and sold them online for $40 a pop.
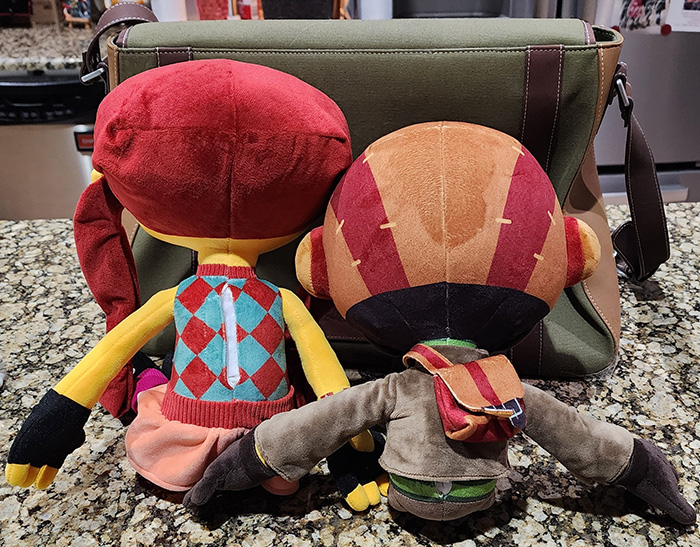
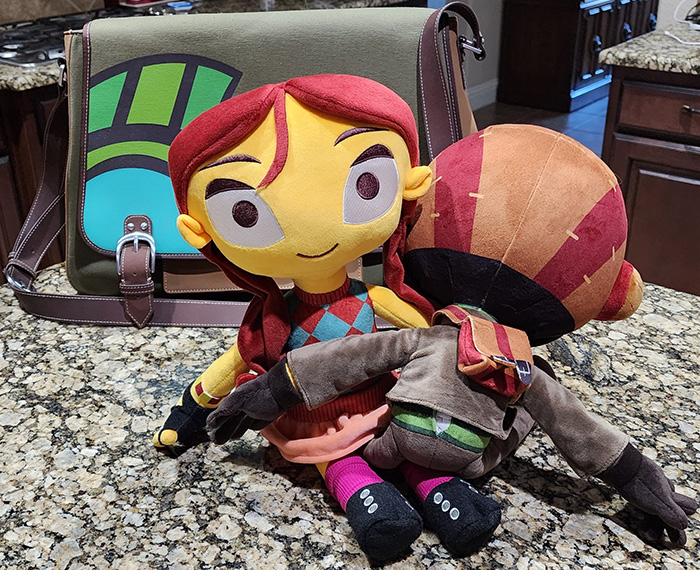
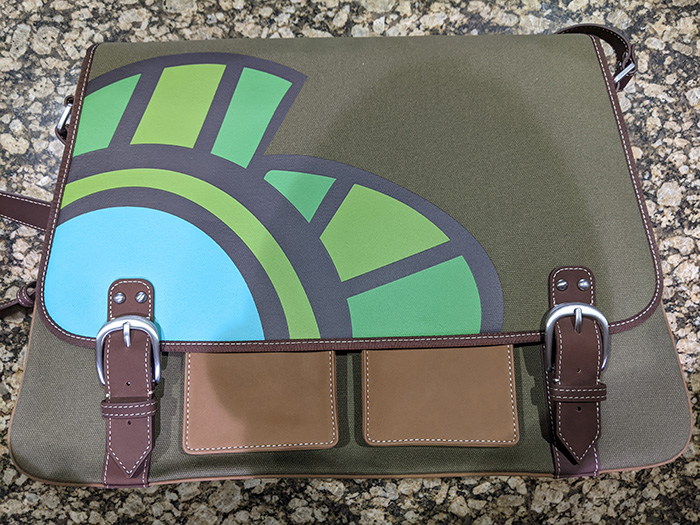
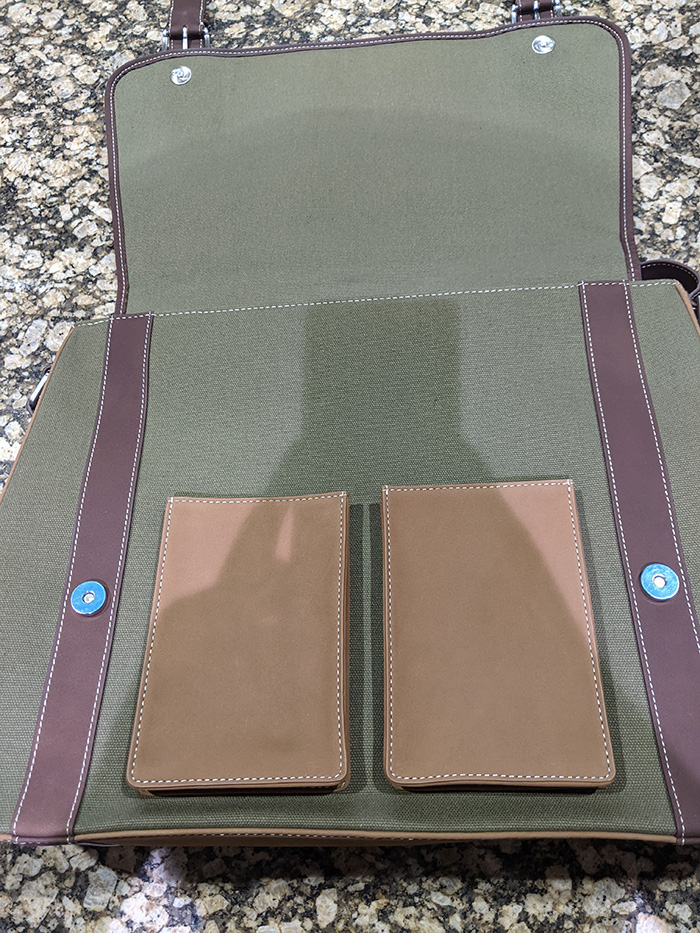
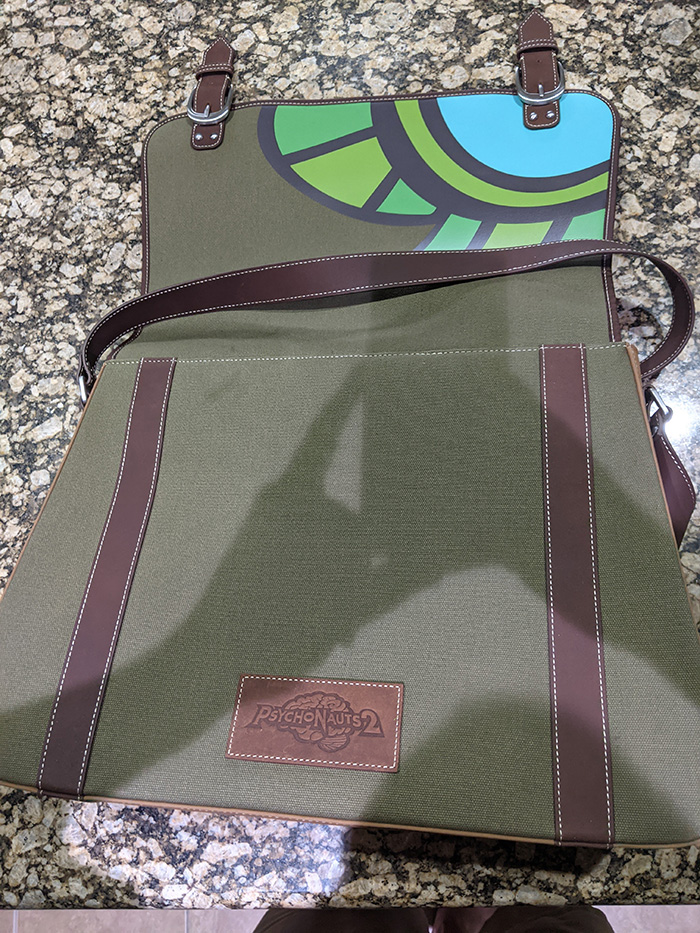
They already lost my good faith from the “Backpack” campaign reward debacle 4 years ago. It wasn’t the backpack from the first game with the badges. It was the new satchel design from the second game, which is NOT what was promised. I paid $300 bucks for it and its definitely supposed to be the bag from #1 if its supposed to include the merit badges... Granted, the quality was very nice though.